
I've been struggling with exactly how to present this. It is more of a technique than a pattern and it is really VERY easy. I started this project yesterday with the goal of making granny squares into ripples and then making the ripples edges straight. Its basically a granny square sampler of sorts. In the center you have your basic Granny Square. Each side of the Granny Squares are then rippled outwards. Finally, I used, what I guess you could call, a type of short row to fill in the triangle spaces on the sides and make them straight.
Rnd 1: Make a magic ring. Ch3 into ring, 2dc, ch2, *3dc, ch2*. Repeat from * to * 3 times. Sl st to top of ch3. Fasten off
Rnd 2: Attach new color with standing st. in any ch2 space from rnd 1. 2dc , ch2, 3dc in same space. *3dc, ch2, 3dc, ch1*. Repeat from * - * 2 more times. Sl st to top of standing st. Fasten off.
 |
| Granny Square with four rounds |
Now we will join the squares


Row 5

Working the 6 center dc sts together on row 6
Rnd 6: Same as rnd 5
A beg. ch2 and 1st 3dc group used to start rows from 7 on
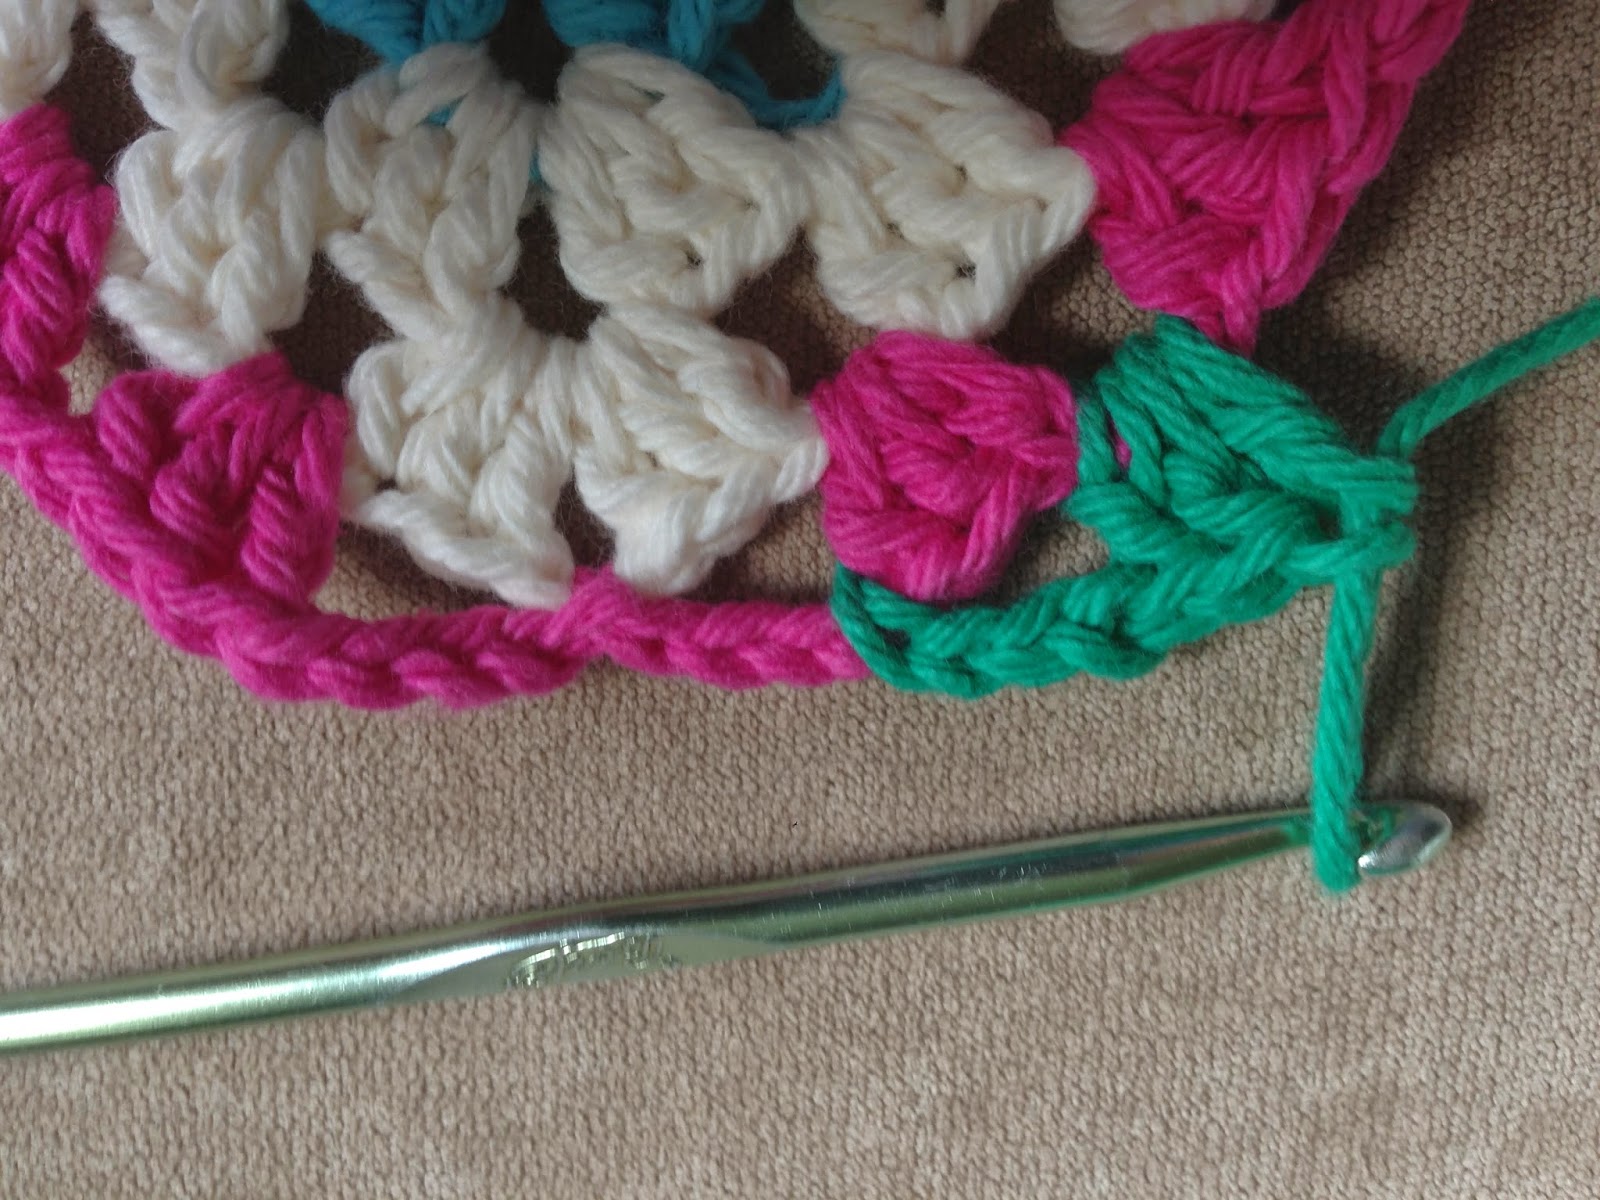
Pull up a loop of a new color in the center of the ch2 space on either the top or bottom of the piece. (You will be working each side of the piece separately.) Ch3, then *3dc, ch1into the ch1 space* from the previous row. Repeat from *-* 4 more times. 3dc, ch2. 3dc in corner space. Work 3dc, ch1 over the next 3 ch1 spaces from the previous row. Work 6dc over two center sts. Continue in this manner to the end of the piece; stopping before you reach the corner of the opposite side. Ch3 and attach with sl st to corner ch2 space.
Row 8 - 12: Repeat row 7
Now we will begin to straighten out the ripples
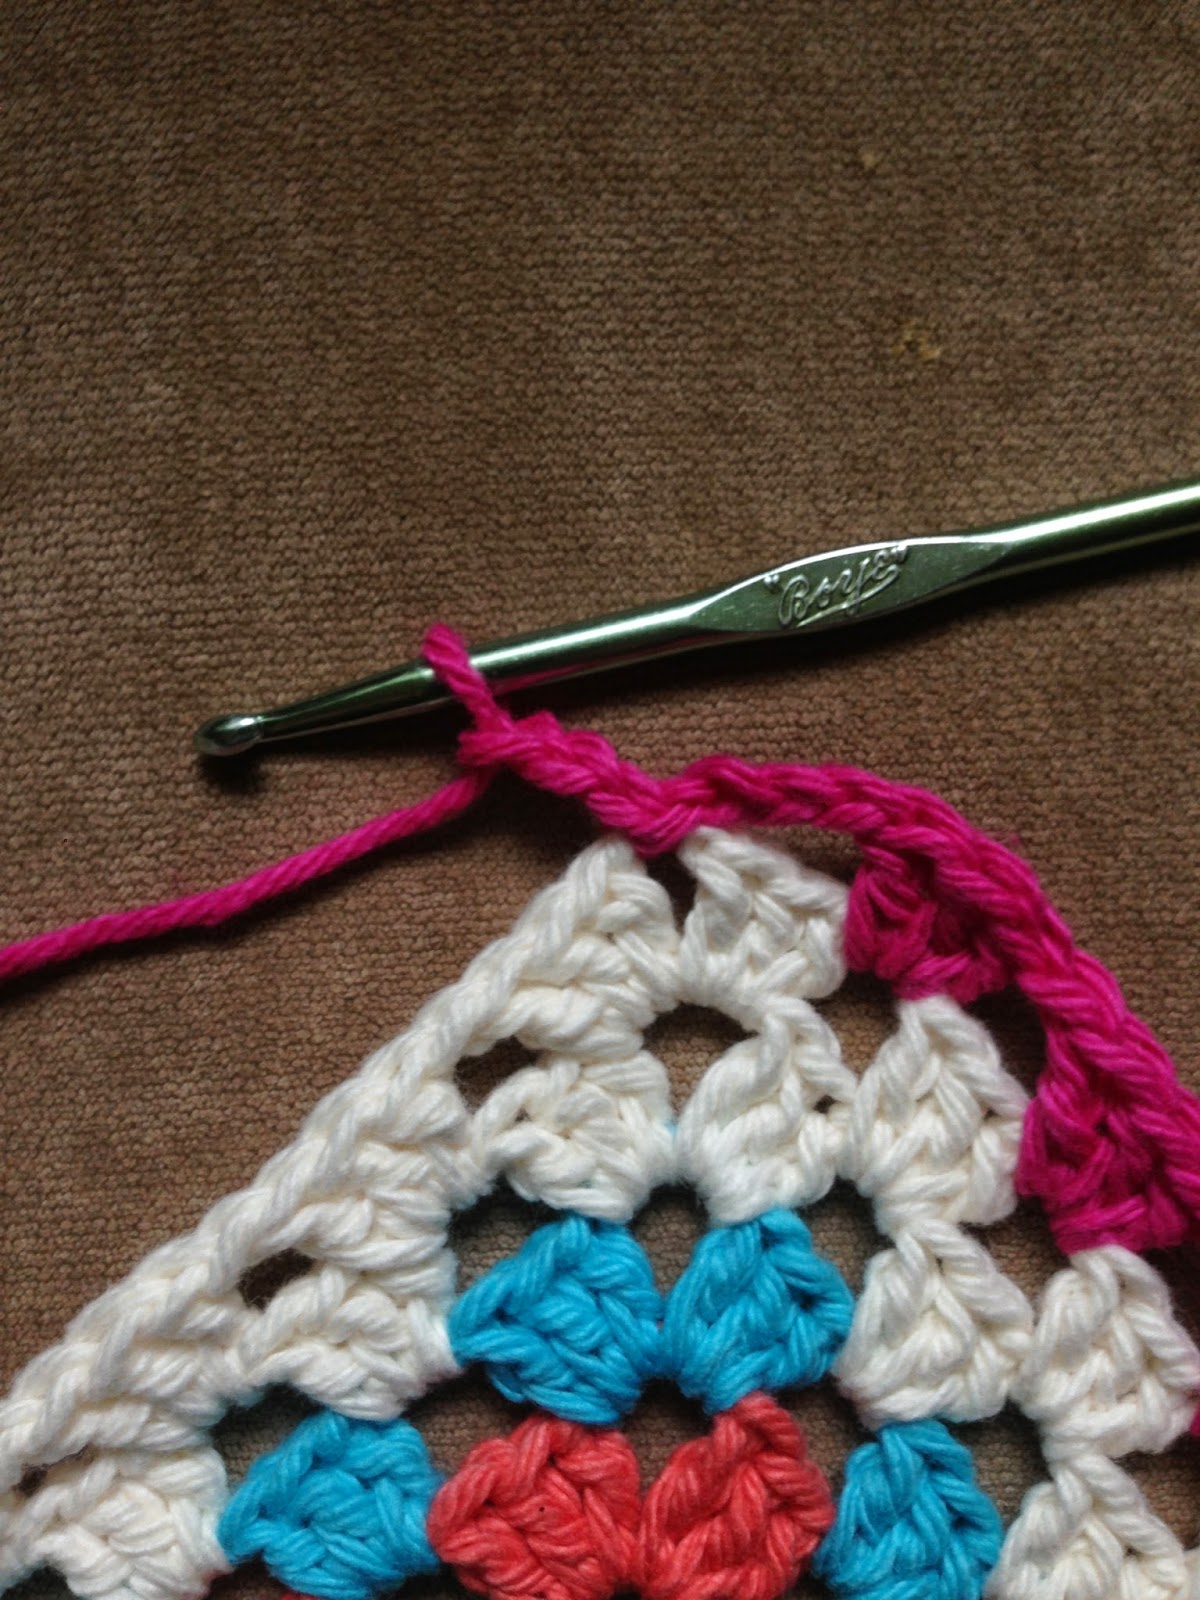
Row 13: pull up a loop in the ch3 space from the beg. of the previous row. Ch3, *in next ch1 space 3dc, ch1*. Repeat from *-* until you reach the space before the top cluster. In the space before the cluster, 3dc, ch3. Sl st to the ch2 space in the center of the cluster, ch3 and continue down the other side doing 3dc, ch in every ch1 space, and doing 6dc across the two center sts until you reach the end of the piece. Ch3 and attach with a sl st to the ch3 space at the end of the previous row. fasten off. As you can see, you are not working the points, but making them into a straight edge. The initial and ending ch3 spaces have been forming the straight side of the piece.

Final 3dc and ch3

Attaching the ch3 with a sl st
The amount of stitches per row will be decreasing as you go.


Row 12
Row 13
Row 14: Pull up a loop in the ch3 space from the beg. of the previous row. Ch3, *in next ch1 space 3dc, ch1*. Repeat from *-* 3 times. Ch3, sl st to ch3 from previous row. Fasten off. Continue down the other side doing 3dc, ch1 in every ch1 space; 6dc across the two center sts; chaining 3 and fastening off then starting the process over until you reach the end of the piece. Ch3 and attach with a sl st to the ch3 space at the end of the previous row. fasten off.

Row 14

Row 15

Row 16

"Row" 17
"Row" 17 in not really a row. Pull up a loop in the right ch3 space of the last unattached pair of center sts. Ch3, sl st to opposing ch3. Fasten off. Correction: For "Row" 17, just slip st the two remaining unworked chain spaces tog. Fasten off

For a rounder edge, ch3, 3dc, ch 3, sl st into next ch3 space, fasten off. (Shown above)

I wanted more of a square edge so I did: Ch2; in ch2 space from previous rnd 3dc, ch2, 3dc; ch2, sl st to next ch 3 space, fasten off.


I really hope this not too confusing, but I wanted to try and make it easy for anyone to do. Some times less is more, but I think it helps to see all the pictures row by row. Please let me know what you think of this pattern and please let me know if you find any mistakes. This is only the 2nd crochet pattern Ive ever written so I'd love some feedback.
Can not wait to try this! It is Beautiful-THANK YOU FOR SHARING
ReplyDelete